Create an organization
This manual outlines the process of creating a Swit organization, from signing up for a master account to setting the organization URL and inviting members.
TIP
If access to the master account is lost, it is not possible to change the payment plan or invite members. To avoid such issues, it's recommended to provide organization admin rights to other members or transfer the master role to another member before the master is absent. If you encounter any issues with rights, please contact customer support.
Sign up for Swit
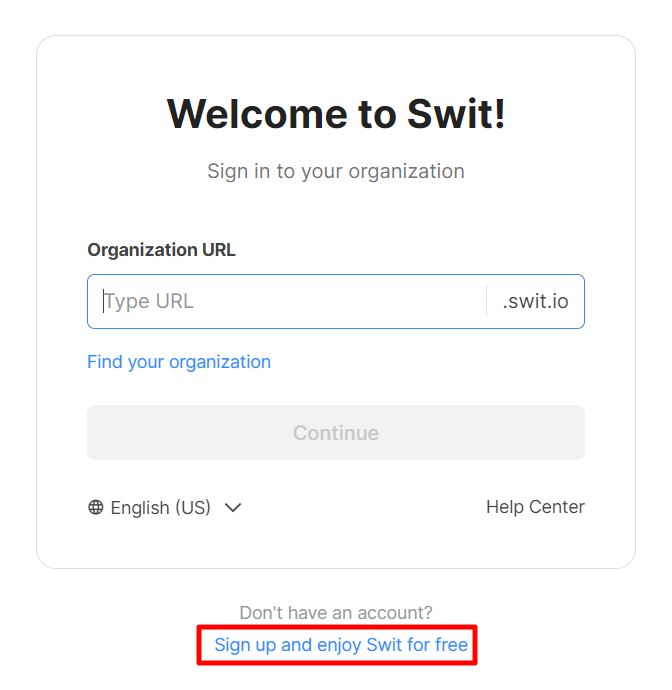
- To start using Swit, click Sign up and enjoy Swit for free at the bottom of the sign-in page.

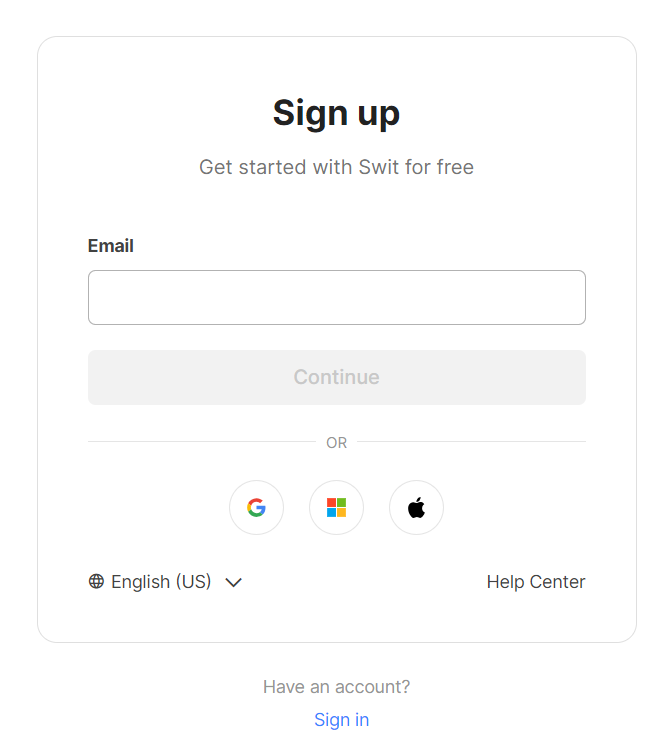
- Enter the email address you want to use for your Swit account. You can sign up using your email address, or use Google, Microsoft, or Apple accounts.

Create an organization
After completing the sign-up, you can create an organization and invite members.
Select the organization name and URL
Set the organization name and the URL to use on the sign-in page. The URL can be changed at any time.

Invite members
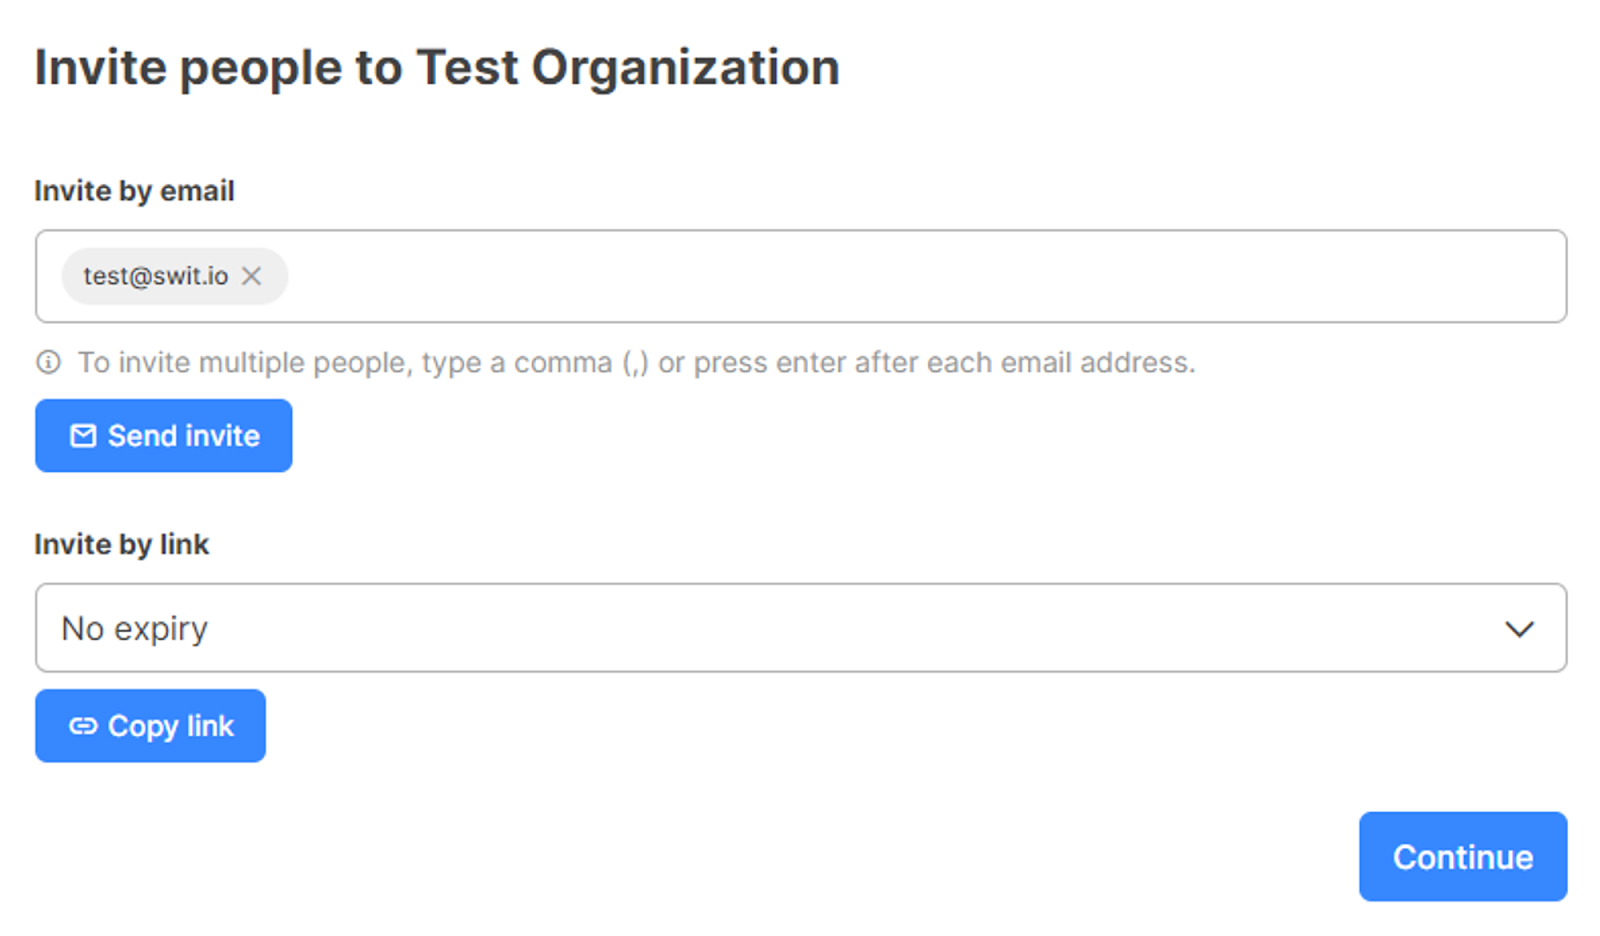
At this stage, you can invite members to the organization. You can always invite members later on, should you choose not to do so now.
- Invite by email: Enter the email addresses of the members you want to invite, and press Enter.
- Invite by link: Select the expiration period, copy the link, and share it with your colleagues.

Start using Swit
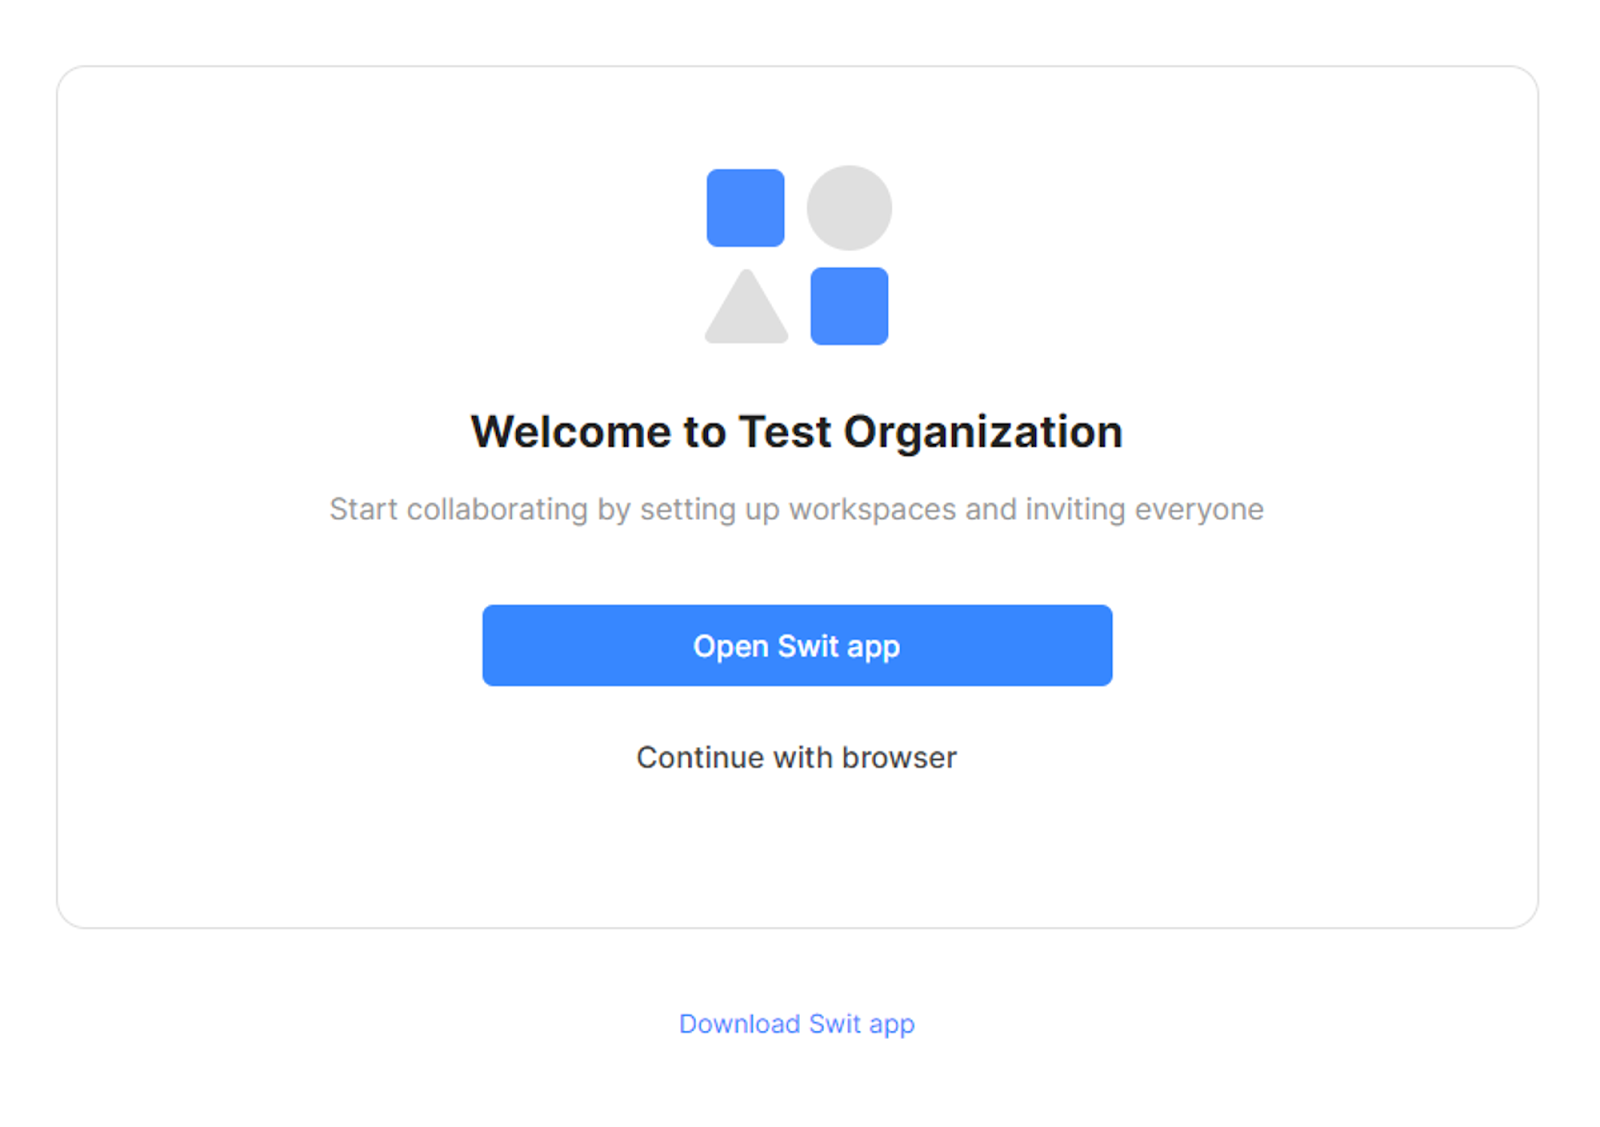
After completing the sign-up, you can open the Swit app or continue with the web browser. To install the app, click Download Swit app at the bottom. If you sign up as described above, your account will be created with master privileges.

Related topics
- Account and organization setup: Learn how to add and switch organizations, and resolve sign-in issues.
What's next
You have completed signing up for a master account and creating an organization. Now, let's move on to the initial settings for the Admin console.