Channels and projects
Here's how to join and manage channels and projects, and personalize your channel and project list.
TIP
Who is this guide for?
- Target audience: All users of Swit
- Applicable to: All plans
Join a channel or project
There are three ways to participate in a channel or project.
- Get invited by a member
- Join directly
- Create a new channel or project
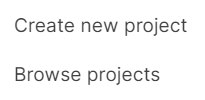
To join directly, click the "+" icon next to the channel or project list or click + Add channel or +Add project at the bottom of the channel or project column. Then, select Browse channels or Browse projects at the bottom of the list to find the channel or project you want to join.
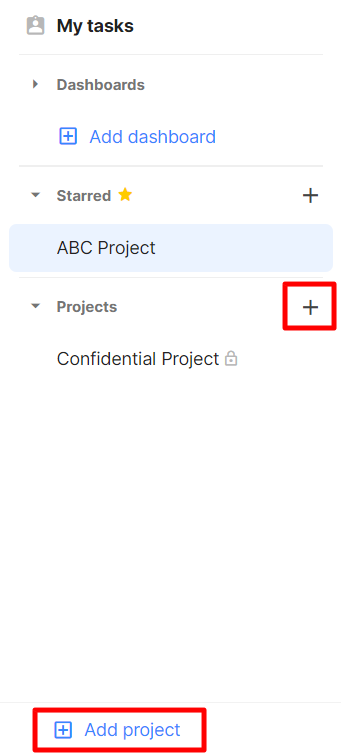
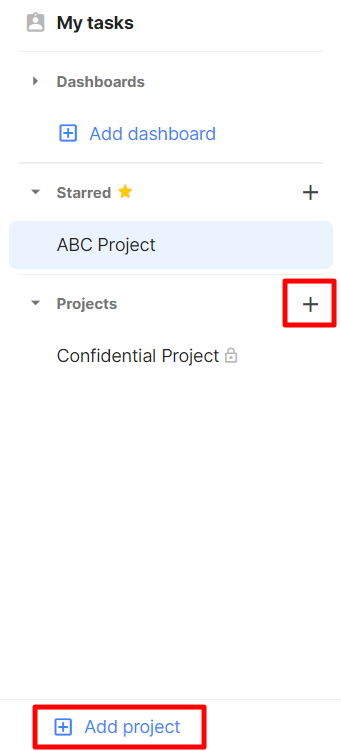
To create a new channel or project, select Create channel or Create project instead. Then, enter the name, description, and whether to make it public or private.

NOTE
Creating a new channel or project will automatically give you the host role.
Manage channels and projects
You can manage settings for the channels and projects you host.
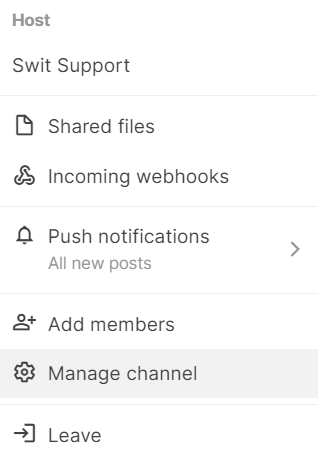
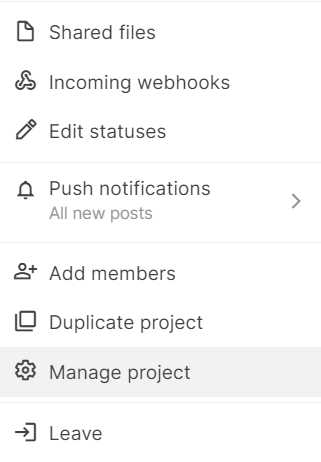
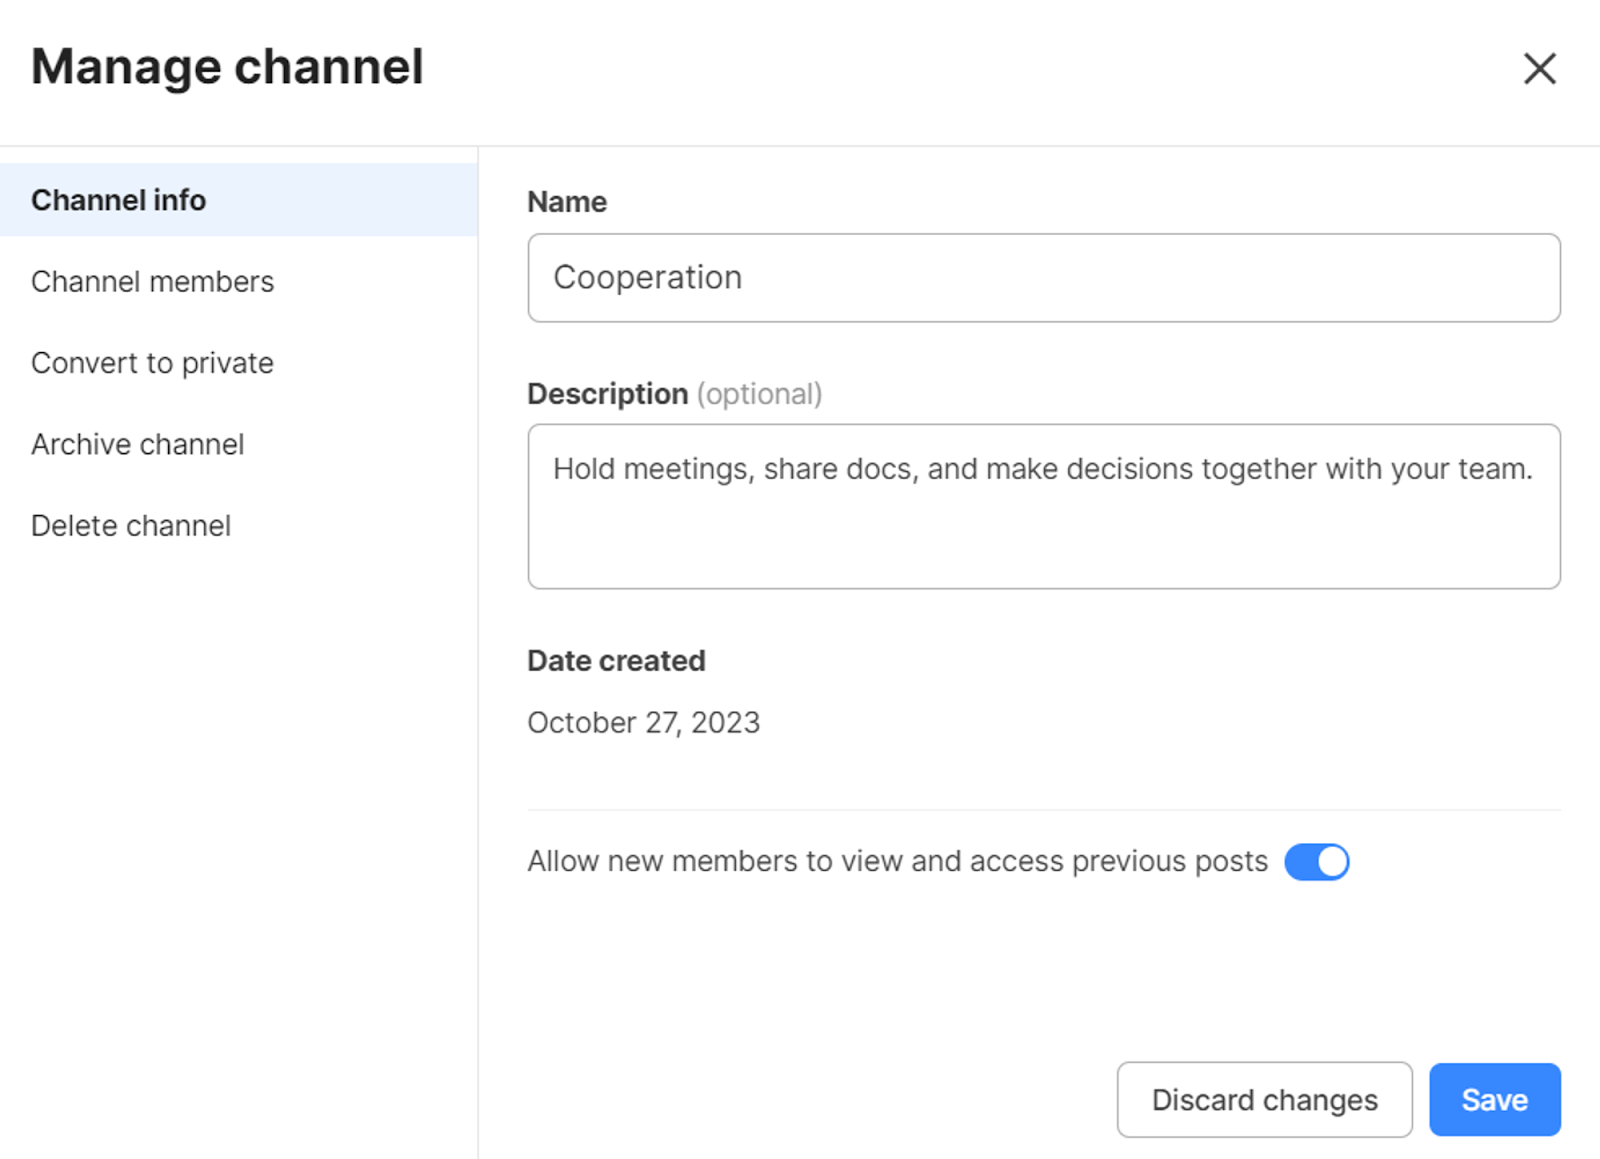
Channel or project info
In this tab, you can edit the name and description of the channel or project. For channels, you can also set whether to allow new members to access previous posts.
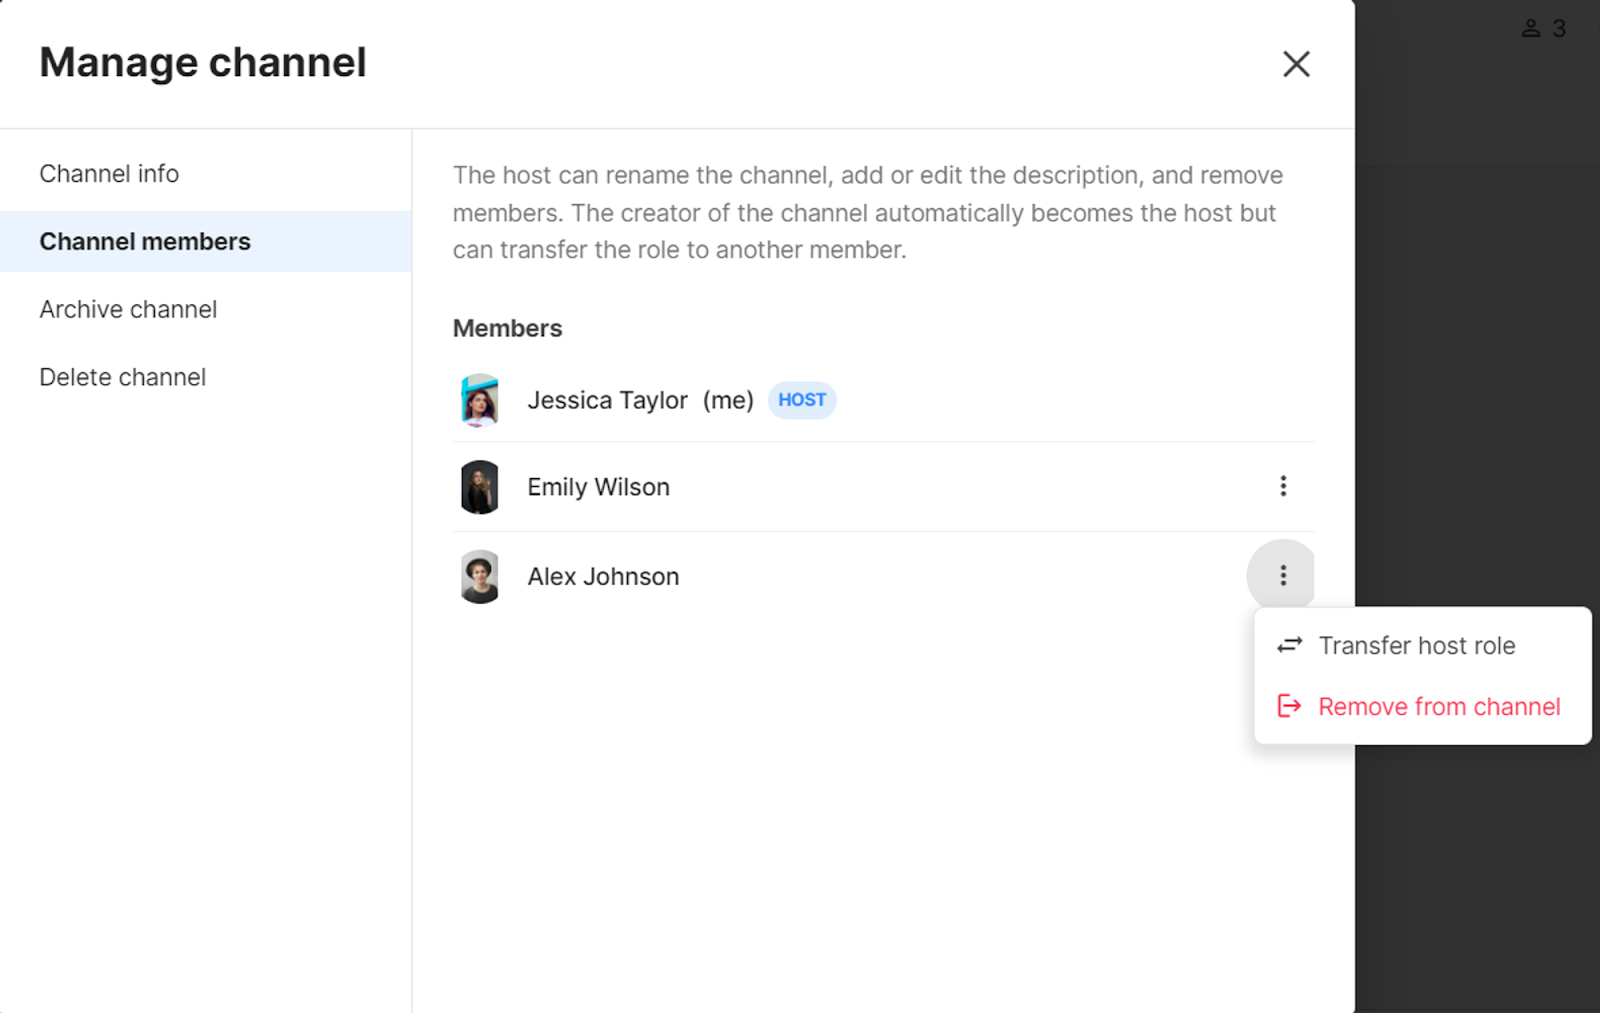
Channel or project members
This tab displays the list of members participating in the channel or project. You can transfer the host role to another member or remove members from the channel or project.
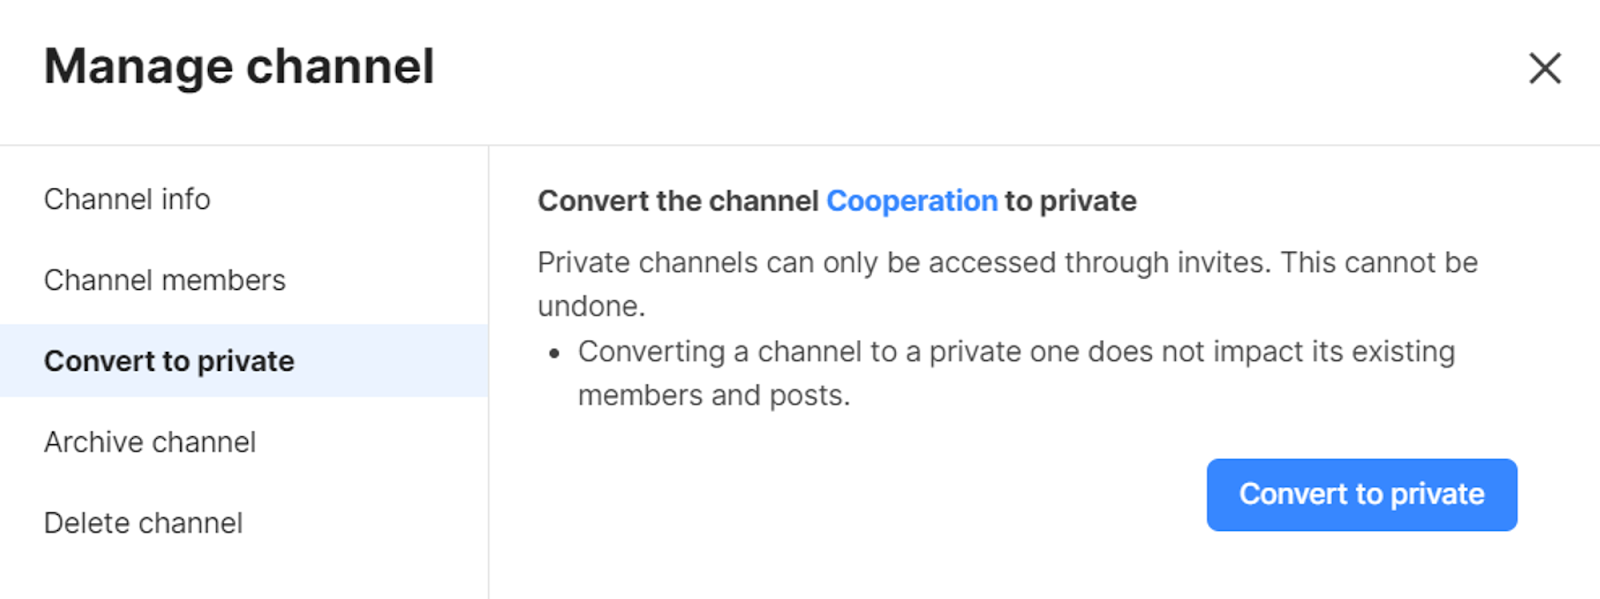
Convert to private
You can convert a public channel or project to private. Once a channel or project is set to private, it will no longer appear in the browse list and can only be accessed by invitation. Once set to private, it cannot be changed back to public, so be sure to decide carefully.
Archive or delete channel or project
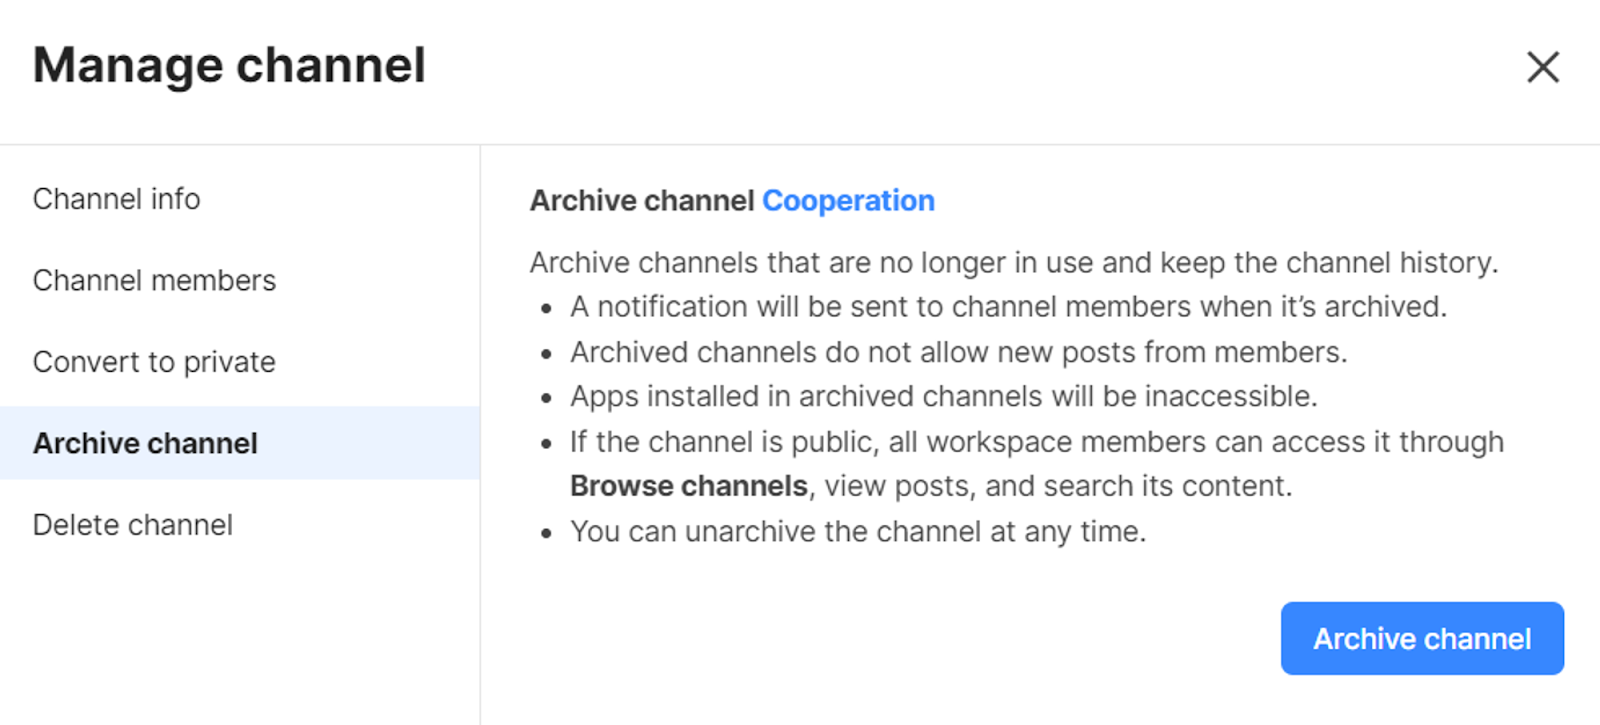
If the channel or project is no longer in use, you can archive it. Even after archiving, you can still view its posts and search its content if needed.
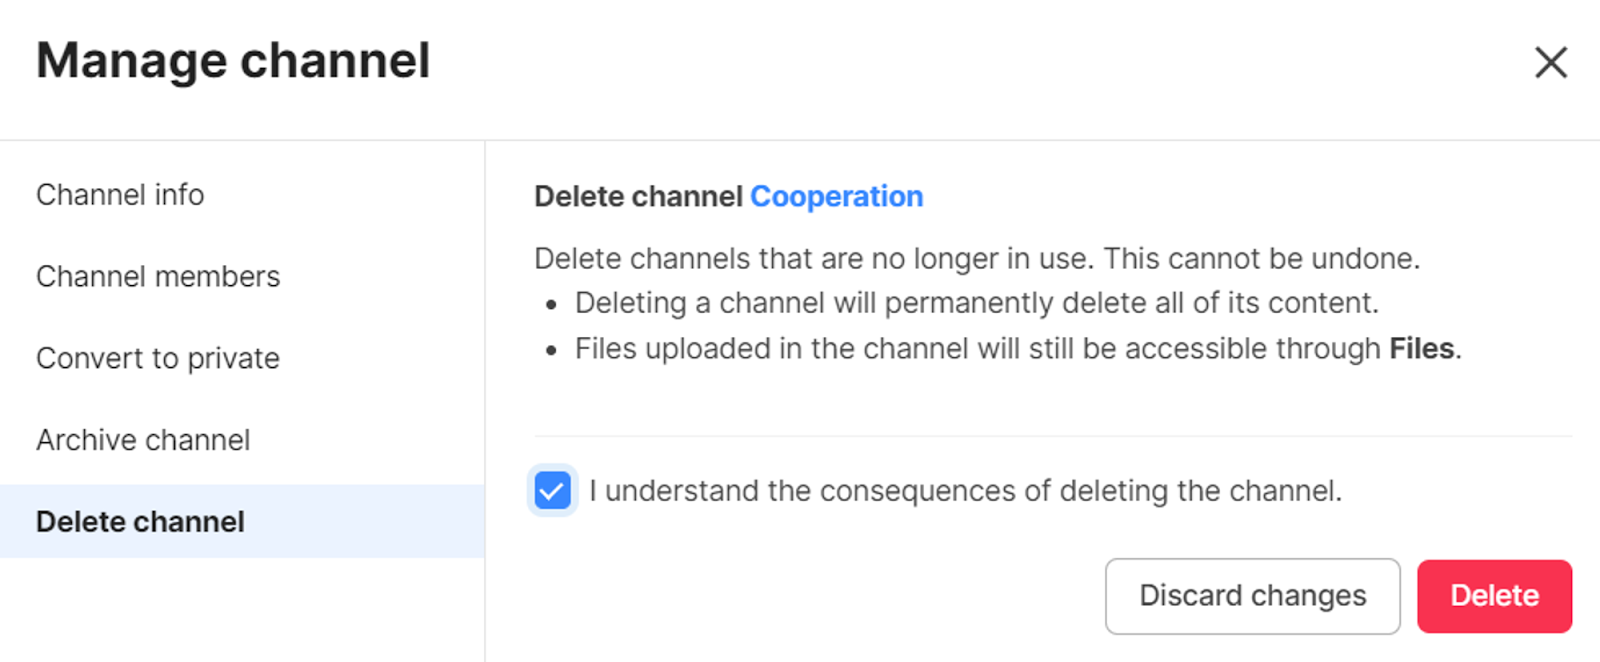
You can also delete a specific channel or project. Before deleting, be sure to read the precautions. Keep in mind that all messages and tasks in the channel or project will be permanently deleted.
Invite members
Channels and projects are useful for effective collaboration. Click the member icon at the top right of the channel or project to invite members to collaborate with. If the member you want to invite is not found, they may already be invited or not participating in the workspace.

Customize your channel and project list
The channel and project list is sorted alphabetically by default. You can customize the order of the list or organize it into folders as follows.
Star a channel or project
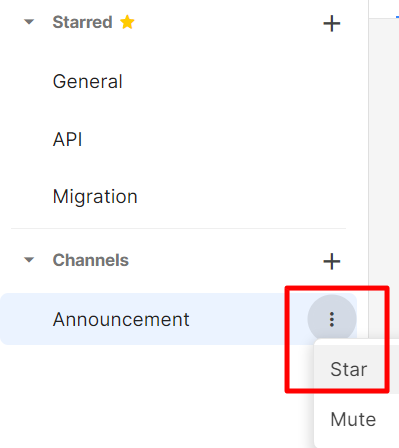
At the right of each channel or project, click the ⋮ icon and select Star. You can also drag and drop starred items to arrange them in the order you want.
Organize into folders
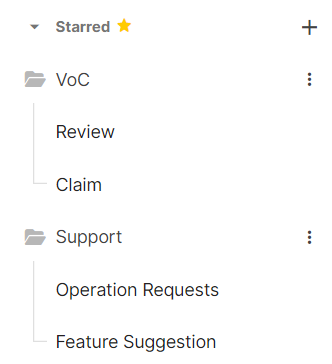
Click the "+" icon next to the folder at the top of the channel list to create a new folder. You can also drag and drop channels and projects to move them to the desired location. Items that do not belong to any folder are located at the bottom of the list.
Related topics
Channels: Find detailed information about channel features.
Projects: Find detailed information about project features.
What's next
We will now guide you through how channels and projects are connected to tasks and how they are synergized in a collaborative situation in Message to task and Sharing tasks.