Create a workspace
Here's how to create a workspace where you can collaborate with your team.
TIP
Who is this guide for?
- Target audience: Those who have the permission to create workspaces
- Applicable to: All plans
Create a workspace
If you are currently participating in a workspace, you can create a new workspace from the workspace menu. You can also browse and join public workspaces created by other members.
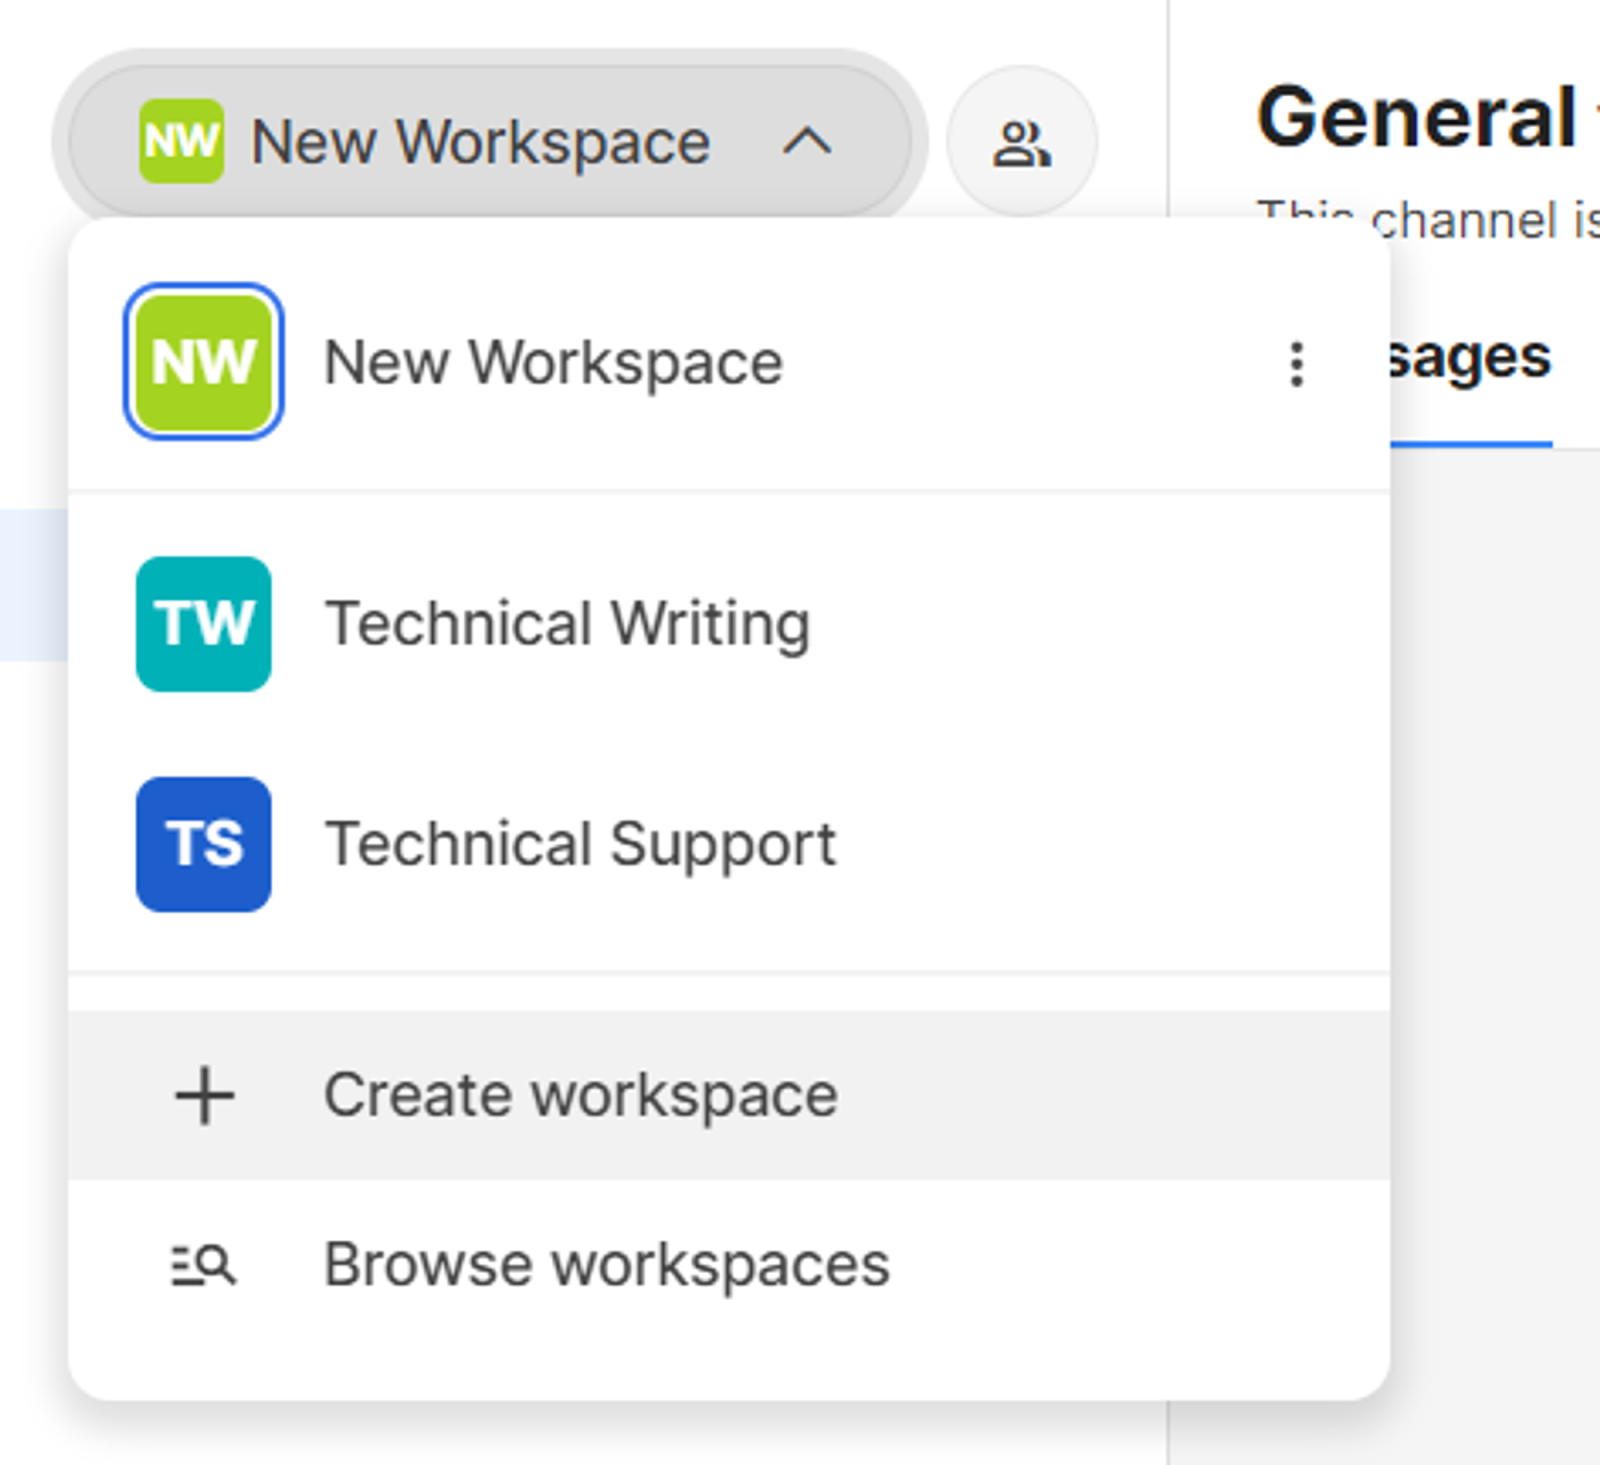
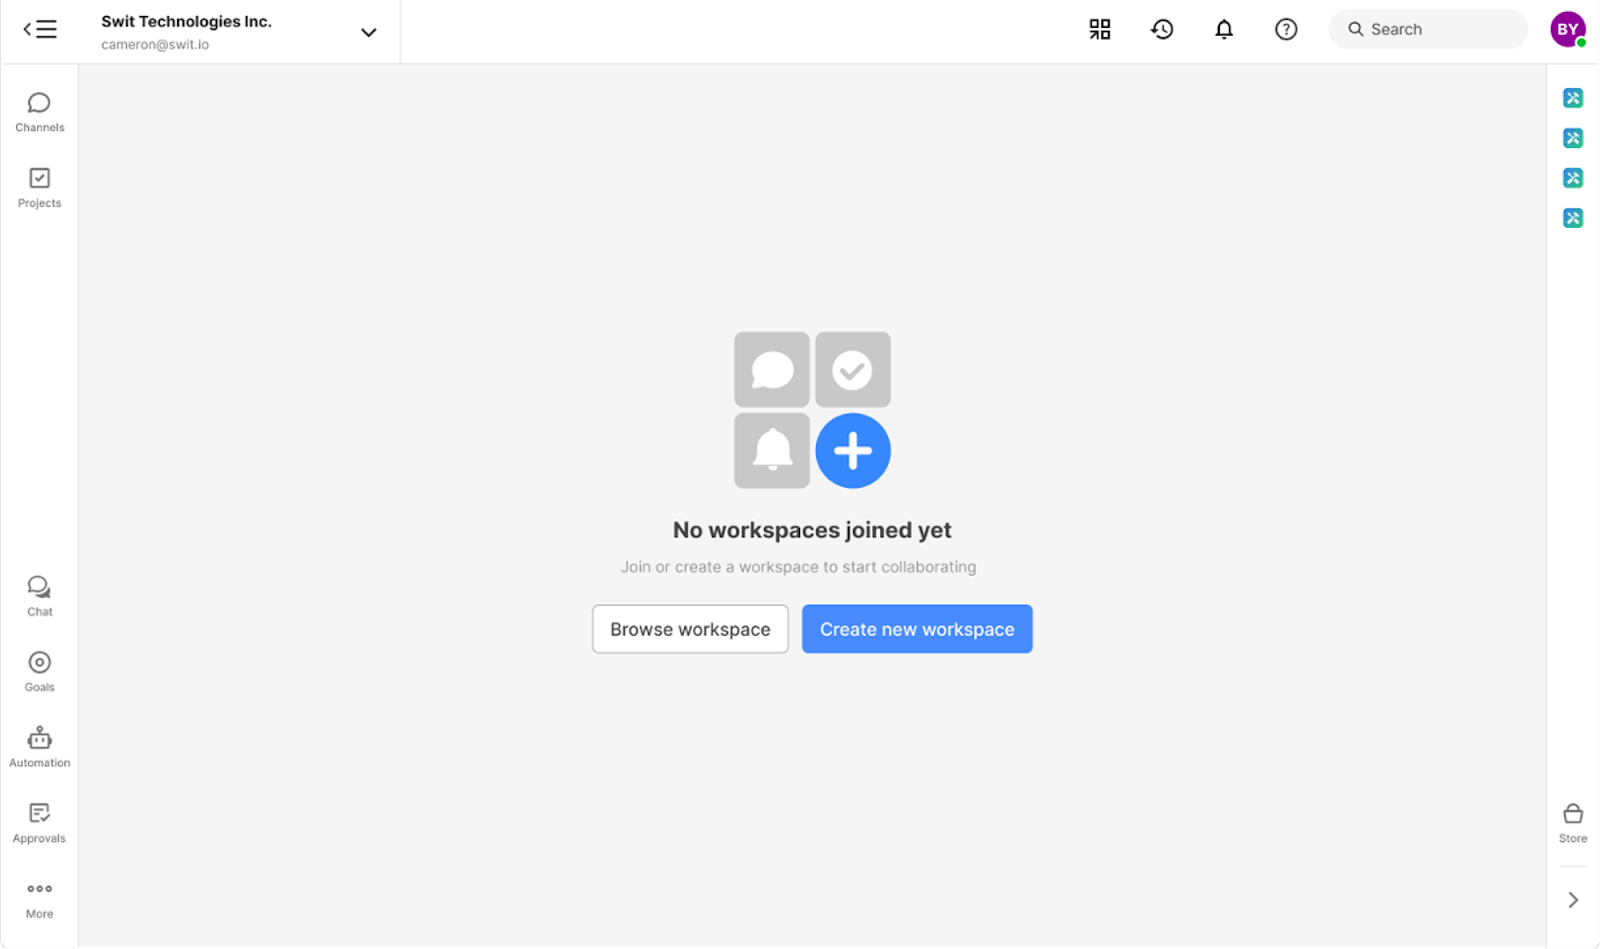
If you're not currently participating in a workspace, you'll start with the following initial screen. You can browse existing workspaces to join or create a new workspace.
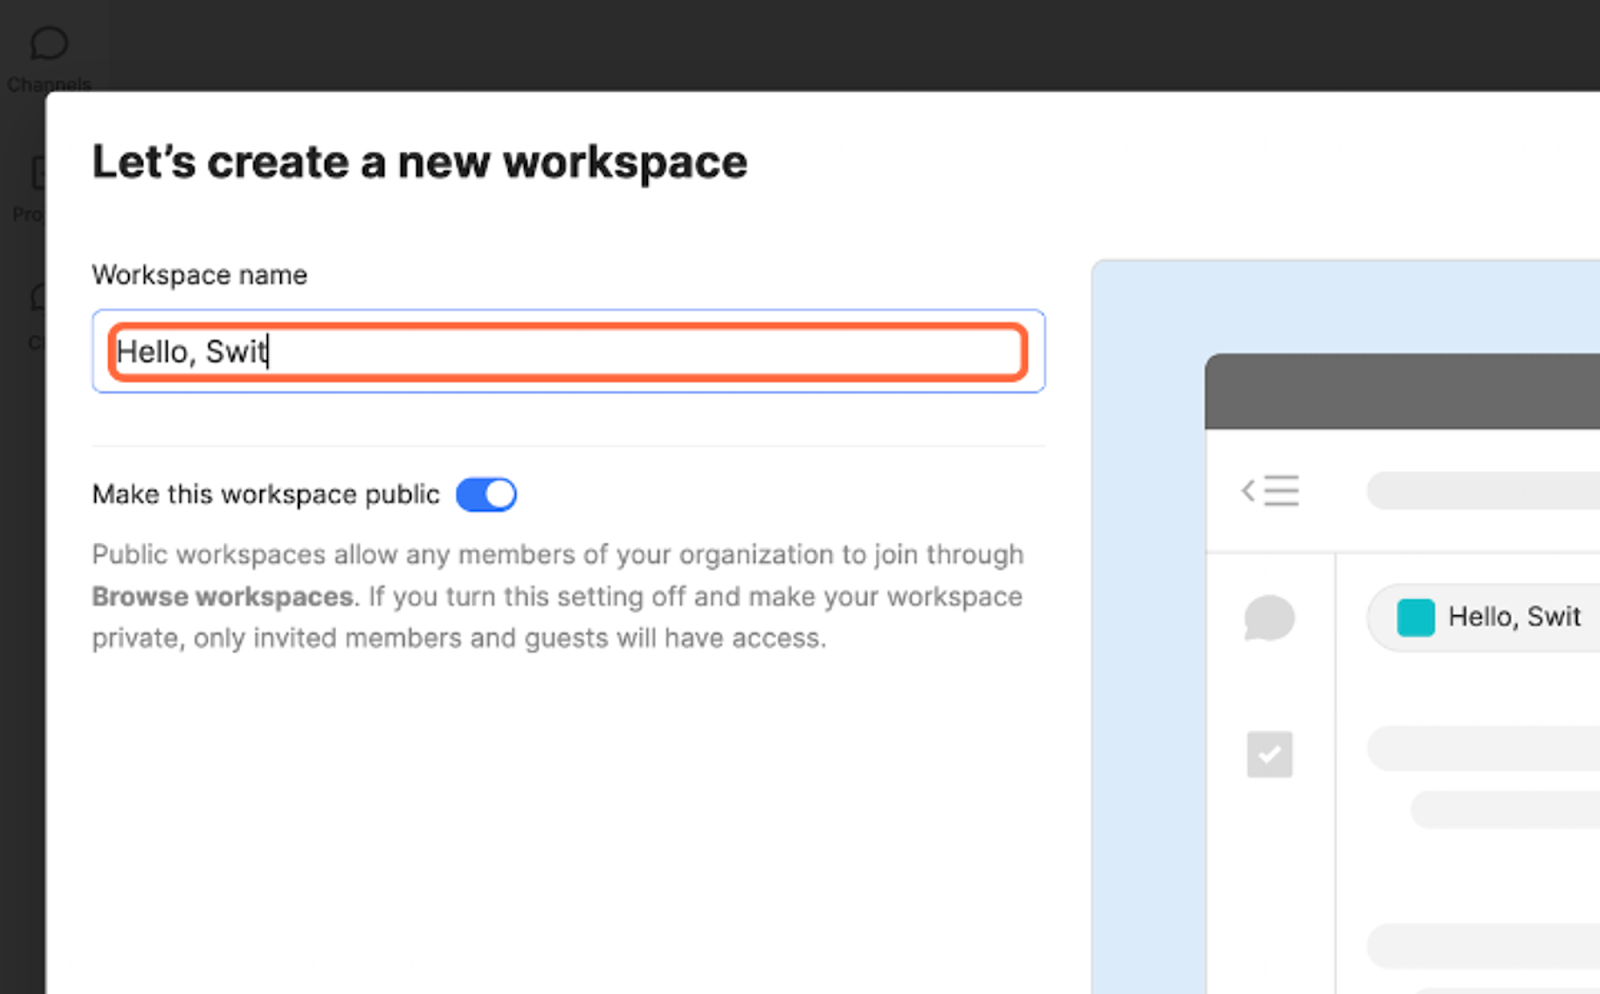
If you choose to create a new workspace, enter the workspace name and select whether to make it public, then click Continue.
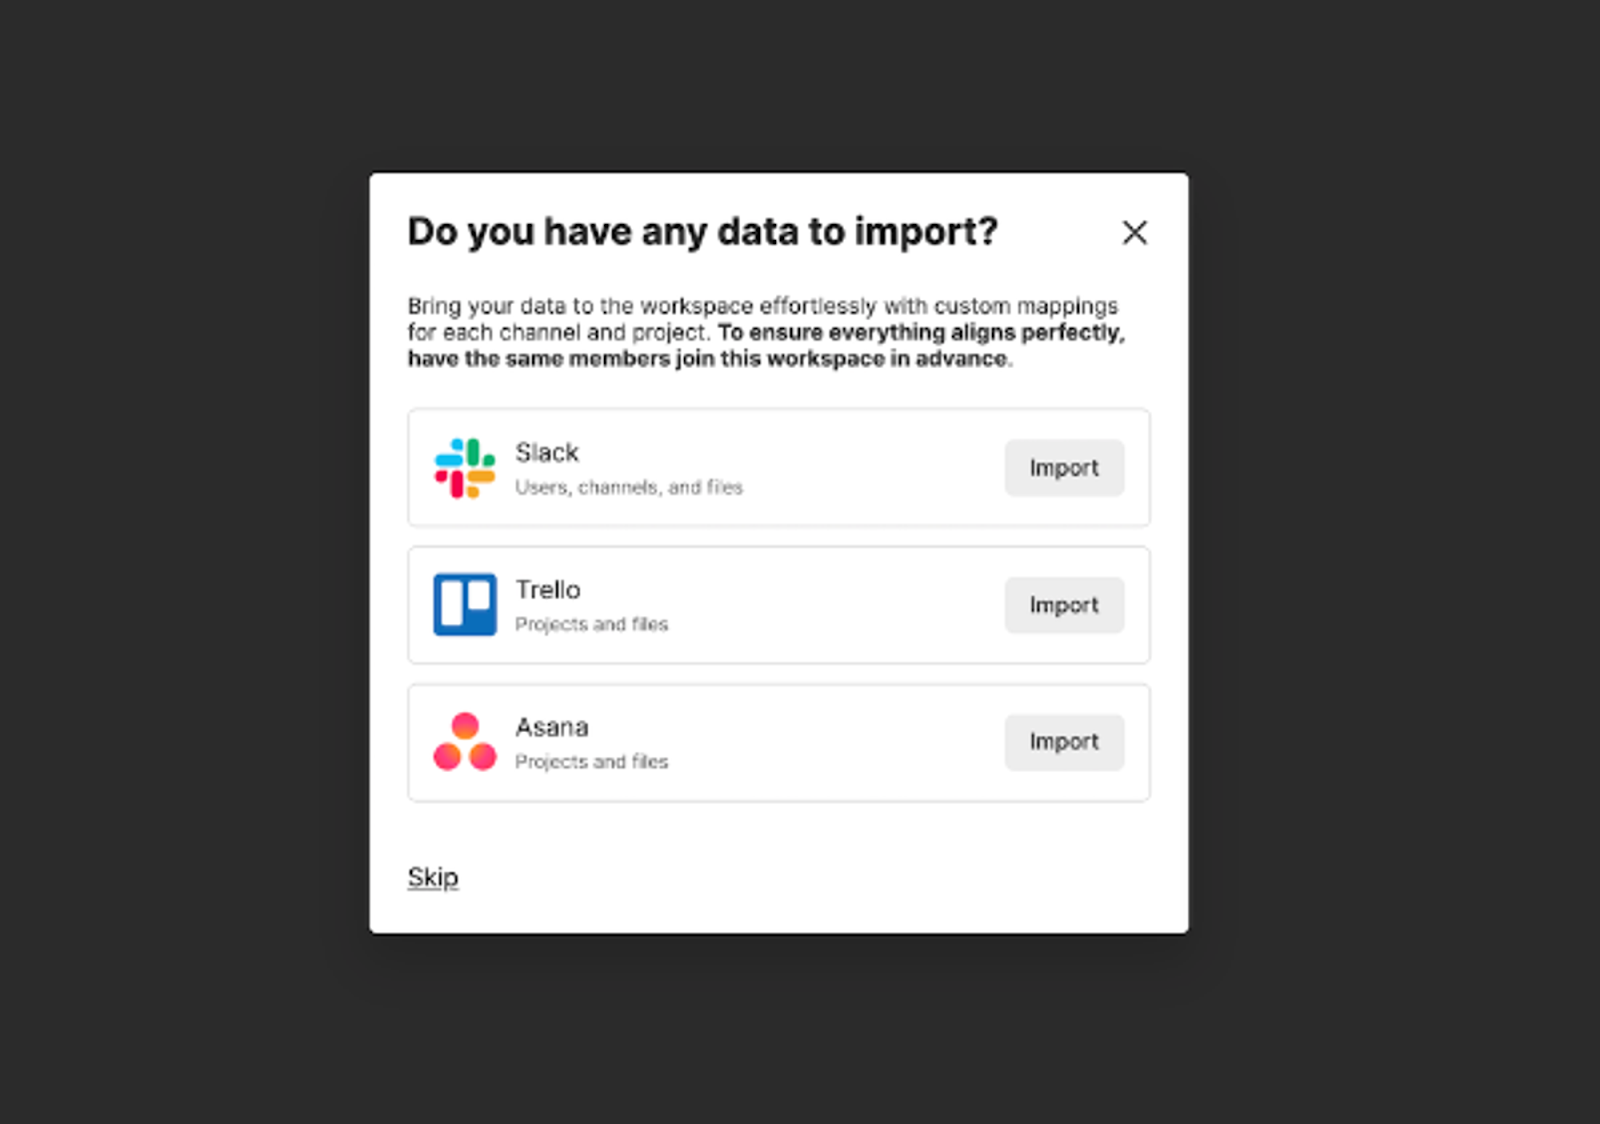
Import data
You can also import data from Slack, Trello, or Asana to your workspace. You can skip this step for now, and import data at any time from the Import data tab in the Workspace settings.
General channel
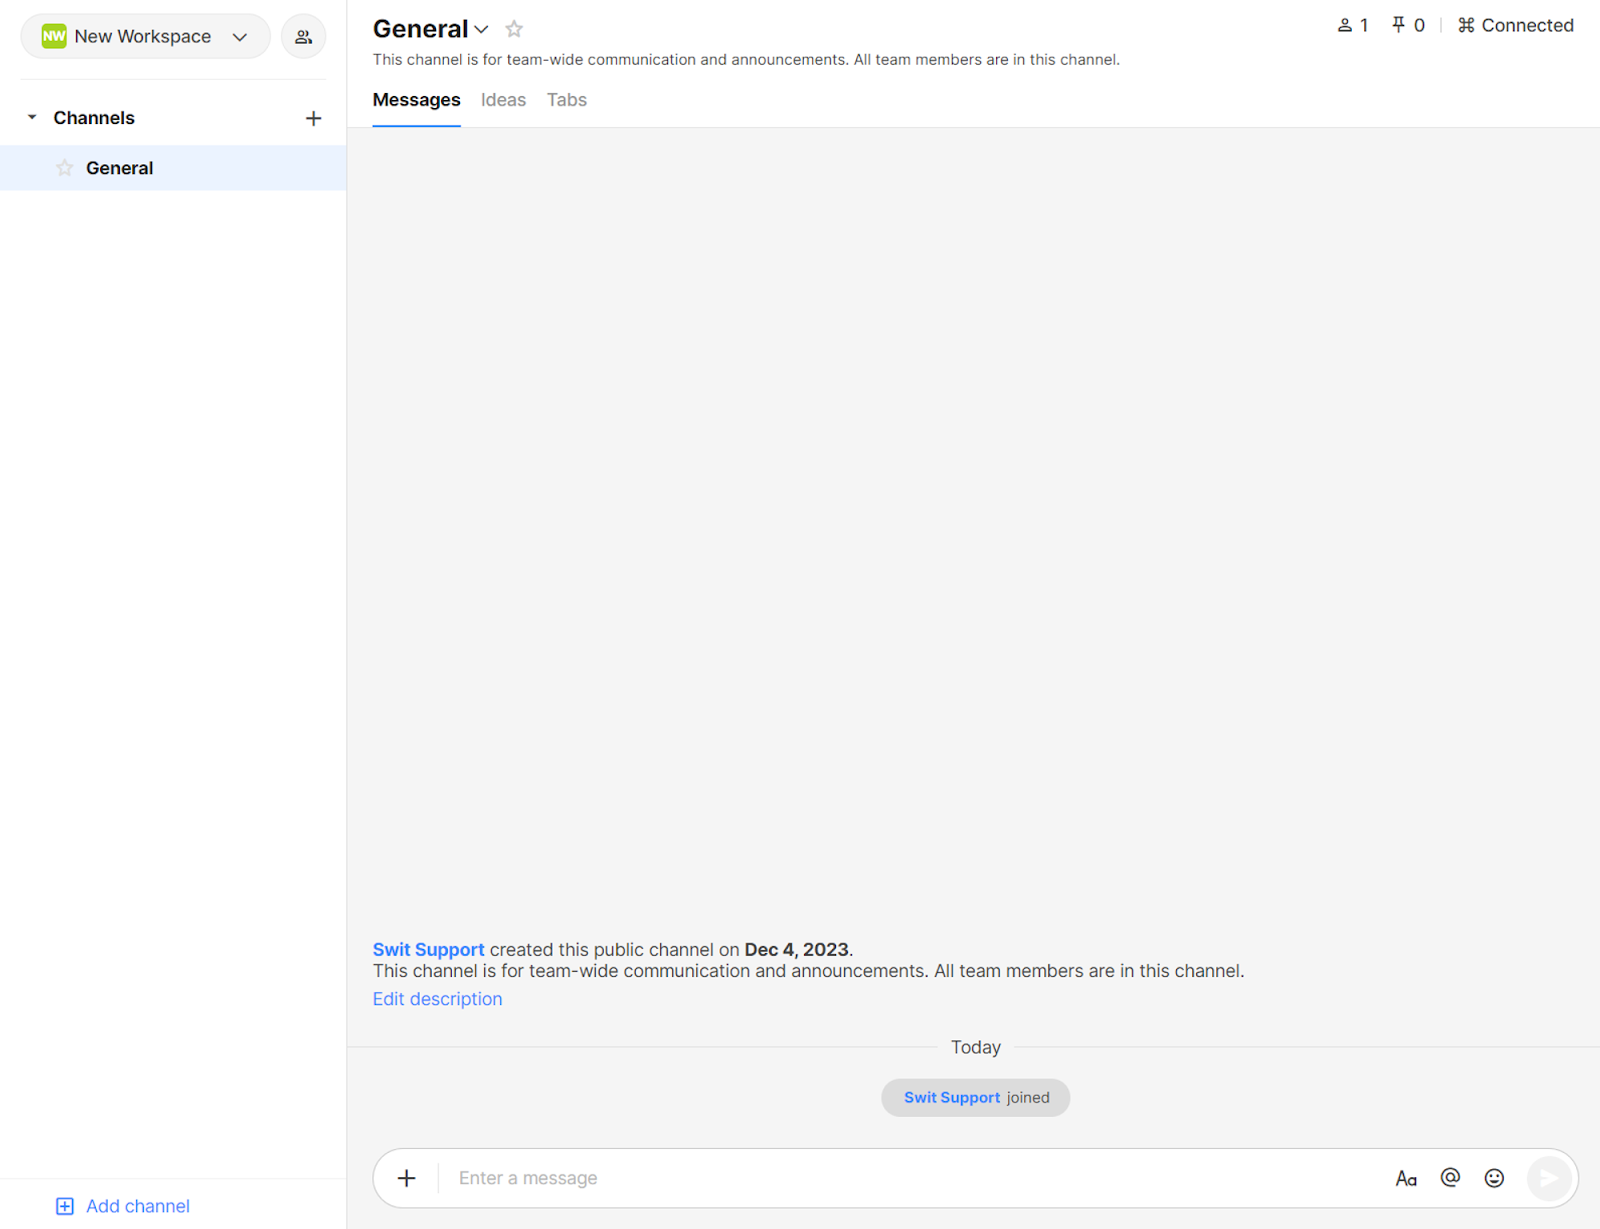
When you finish creating a workspace, a General channel is automatically generated. This channel is automatically joined by all members upon joining the workspace, and while it can be renamed, it cannot be deleted or left. The General channel is recommended for the following purposes:
- Announcing news or delivering notices to all members
- Presenting issues that require feedback or opinions from all members
Make a workspace public
If you want to invite members to a specific workspace, channel, or project right from the moment you invite them to the organization, set the workspace to public. Public workspaces are accessible by all organization members, but not by external users. You can set a workspace to public as follows:
-
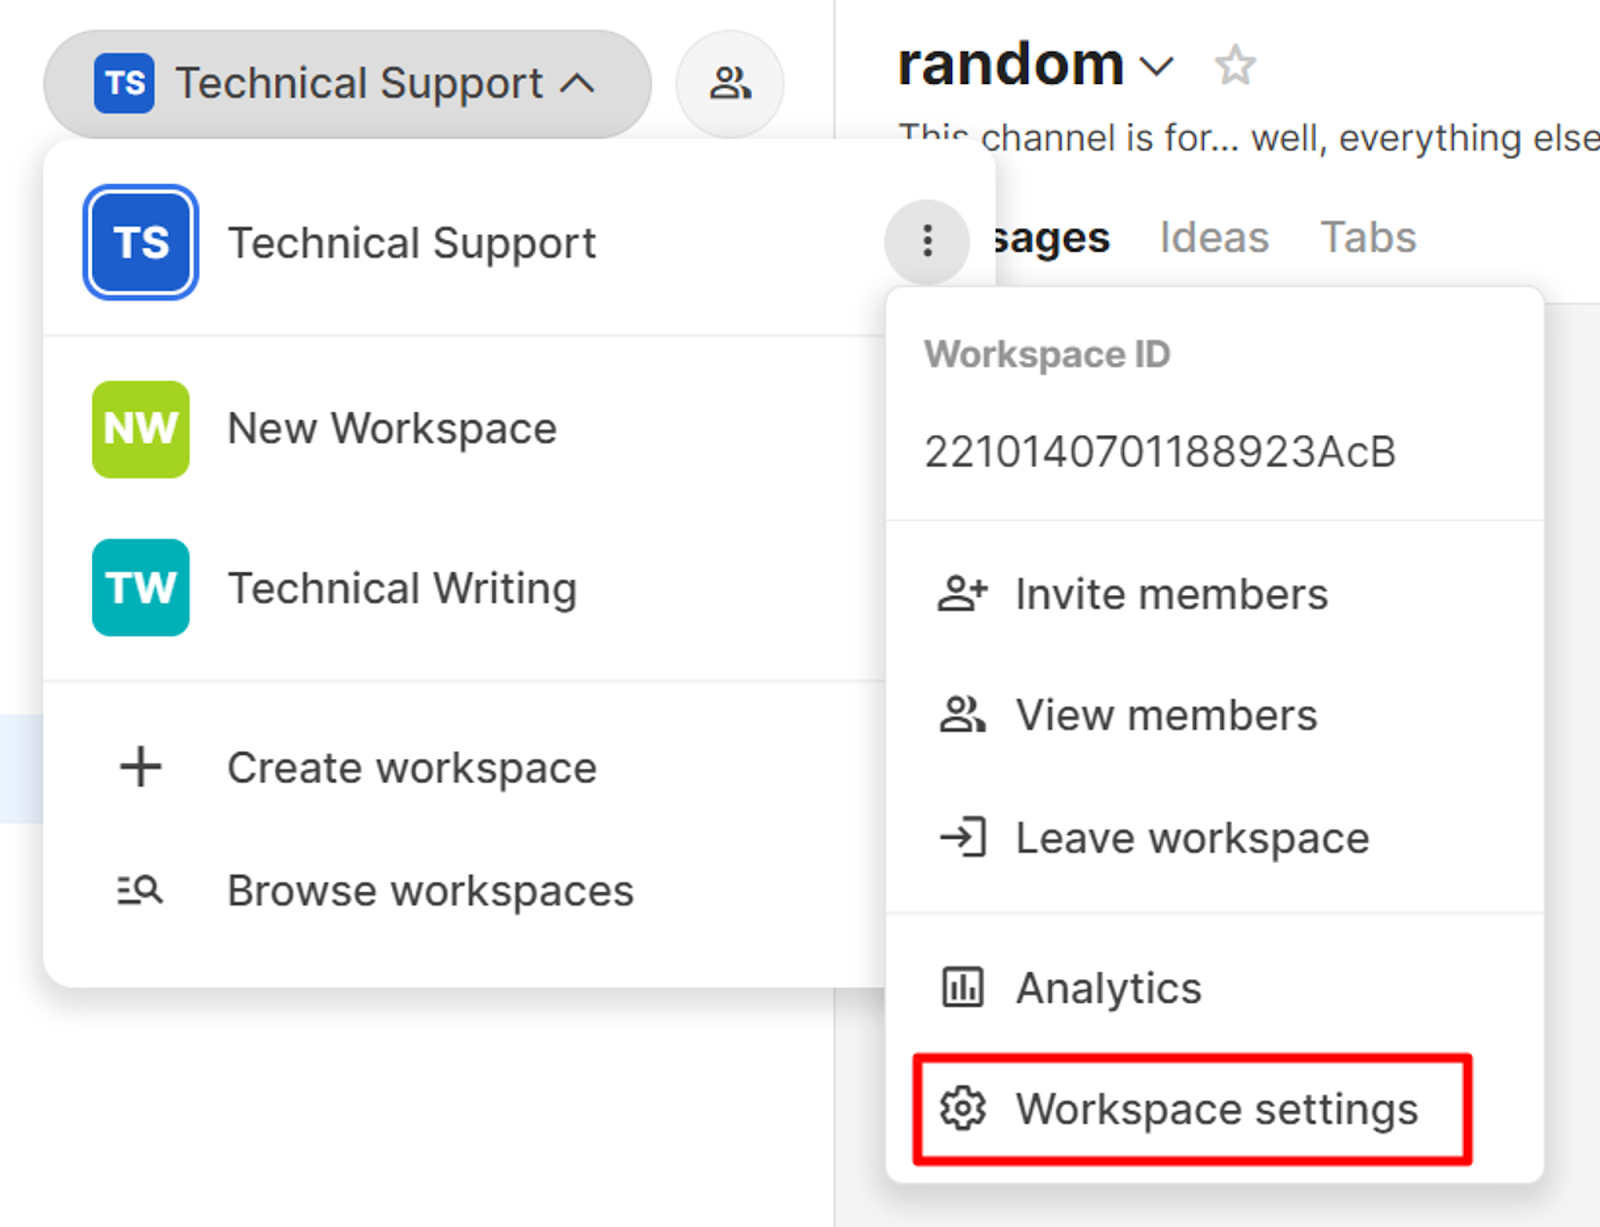
Click on the workspace name > the More button > Workspace settings.
-
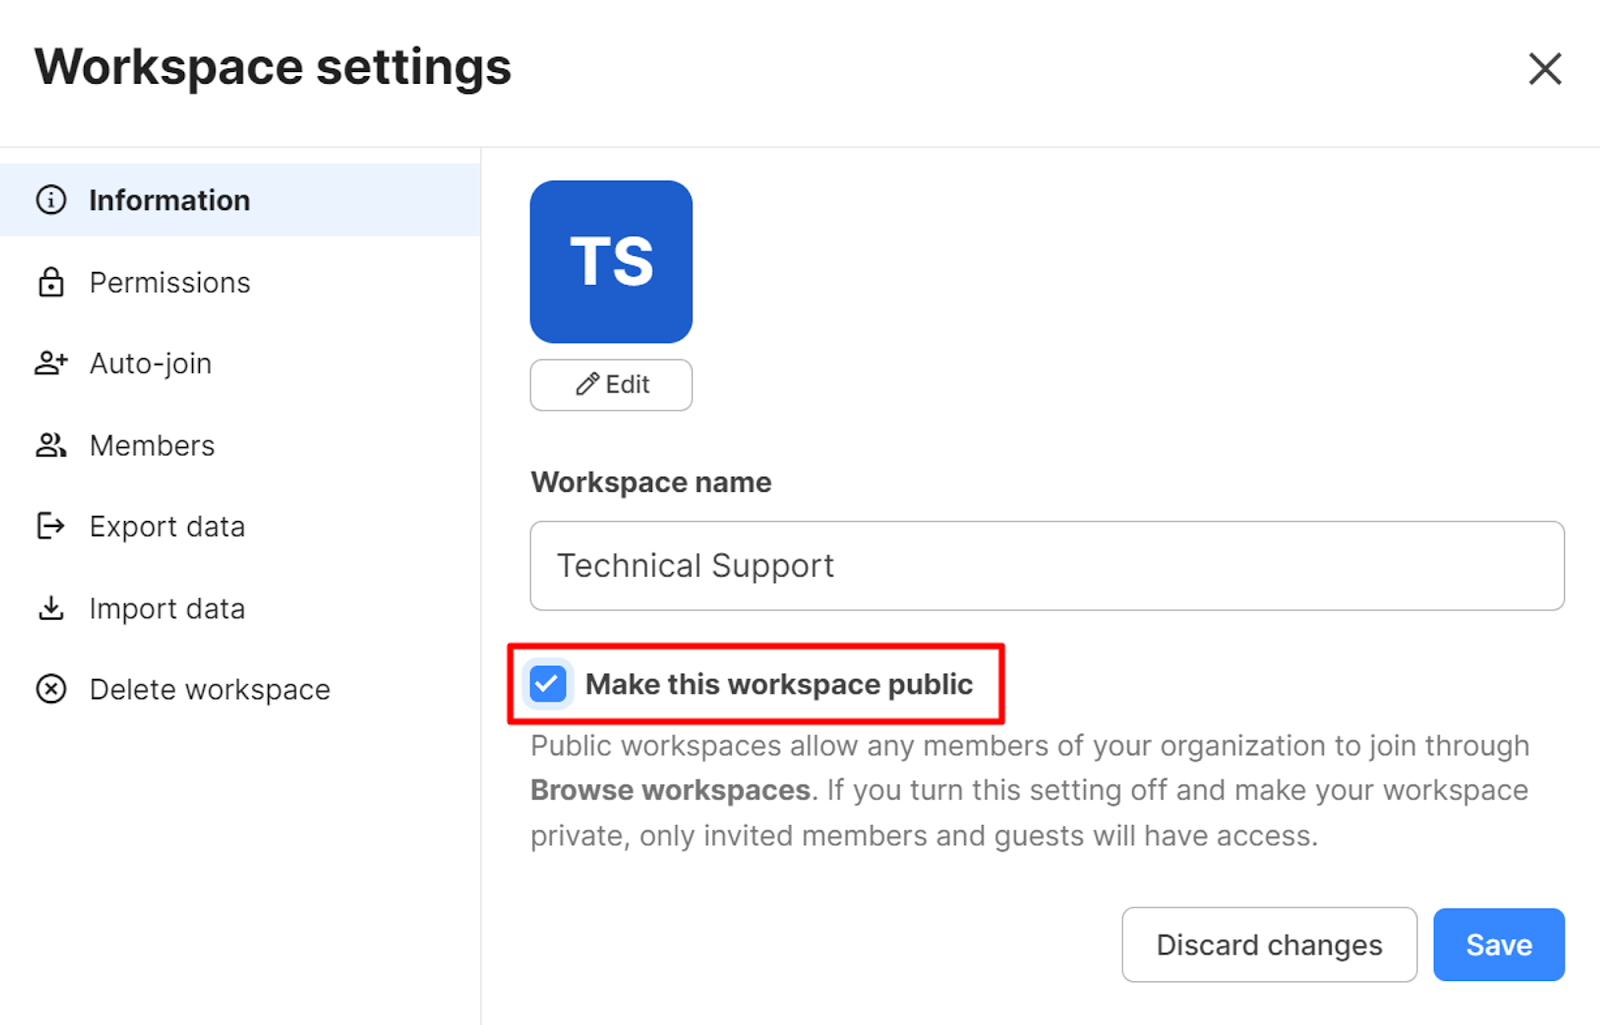
Check the Make this workspace public box and click Save.
Related topics
- Organization and workspace: Learn about the differences between an organization and a workspace, and how to manage workspaces.
What's next
You have completed creating a workspace. Now, let's move on to discover more about workspace members.